Objectively speaking, how wasteful is it to own a LUMIX camera and never shoot any video?
To make excuses, when it comes to stills, several “scenes I want to capture” and “moments I’d happily photograph” immediately come to mind. But when it comes to video, nothing really clicks. I figured I couldn’t force myself to shoot something that doesn’t spark my desire to capture it, so I’ve skipped video entirely until now.
However, I started to think that a significant reason for this lack of inspiration might be that I simply don’t know how to shoot video at all. With video now dominating the scene, I finally felt it was about time to get serious and decided to try learning a little.
So, I attended a free workshop called the “Camera Beginner’s Course (Video Edition)”. The location was LUMIX BASE TOKYO in Aoyama, Tokyo.
With a small group, they patiently taught even complete beginners like me, covering several fundamental basics. As a memo, I’ll post a few notes I jotted down and things that stuck with me.
Frame Rate
・24fps (film: slightly jerky), 30fps (TV), 60fps (streaming)
・If the shutter speed is slower than the frame rate, “frames of the same image” line up, causing stuttering or blurring. Avoid this unless intentionally used for artistic effect.
Exposure
・For shutter speed, beginners should stick to either 30fps → 1/50 sec or 1/100 sec, or 60fps → 1/100 sec, prioritizing “exceeding the frame rate” and “preventing flicker”.
・With shutter speed options limited like this, achieving proper exposure relies solely on adjusting the F-stop and ISO sensitivity.
・With a dark lens, the range of usable apertures is limited, often making it difficult to achieve proper exposure. You’ll frequently need to rely on adjusting ISO sensitivity. If you’re hesitating and risk missing the shot, don’t hesitate to boost the ISO and capture it.
・Be cautious with zoom lenses that have a variable minimum aperture, as zooming often changes the brightness of the frame and the degree of background blur. (You can solve this by shooting at a fixed aperture like F5.6, but this can be challenging if you don’t have sufficient light.) .
White Balance
・Unlike stills, which are self-contained per shot, when shooting multiple takes within the same scene for video, you want to keep the white balance consistent. Be aware that Auto White Balance carries the risk of varying between takes depending on lighting conditions.
Image Quality
・Image quality: MOV > MP4
・Pixel count: 4K > FHD (2K) ※Alternatively, shoot in 4K and crop later
・Color depth: 422 > 420 10bit > 8bit
・Higher image quality increases file size and demands more from your editing environment. MOV files may fail to play on recipient devices if system requirements aren’t met.
Recording Media
・200Mbps or less → UHS 3, V30 (roughly FHD equivalent)
・400Mbps or less → V60 (roughly 4K equivalent)
・600Mbps or less → V90 (roughly 8K equivalent)
That was all we had time for in today’s session.
Time ran out before we finished, but there’s so much to remember!
While I’m at it, I’ll also include notes from when I peeked at another video seminar earlier.
・Beginners should start with MP4 & 4K/8bit/100M/30p
・Start by shooting without moving the camera.
・Move your whole body, not just your hands. Use horizontal tracking or circling instead of pans.
・LUMIX’s image stabilization is powerful; you can get by pretty well even without a gimbal.
・Daily exercises moving your whole body are crucial.
・5 seconds per scene + 3 seconds before/after is the minimum shooting unit. Shorter than this often leads to regret.
Oh, please, enough already. I can’t absorb all this at once, old man!
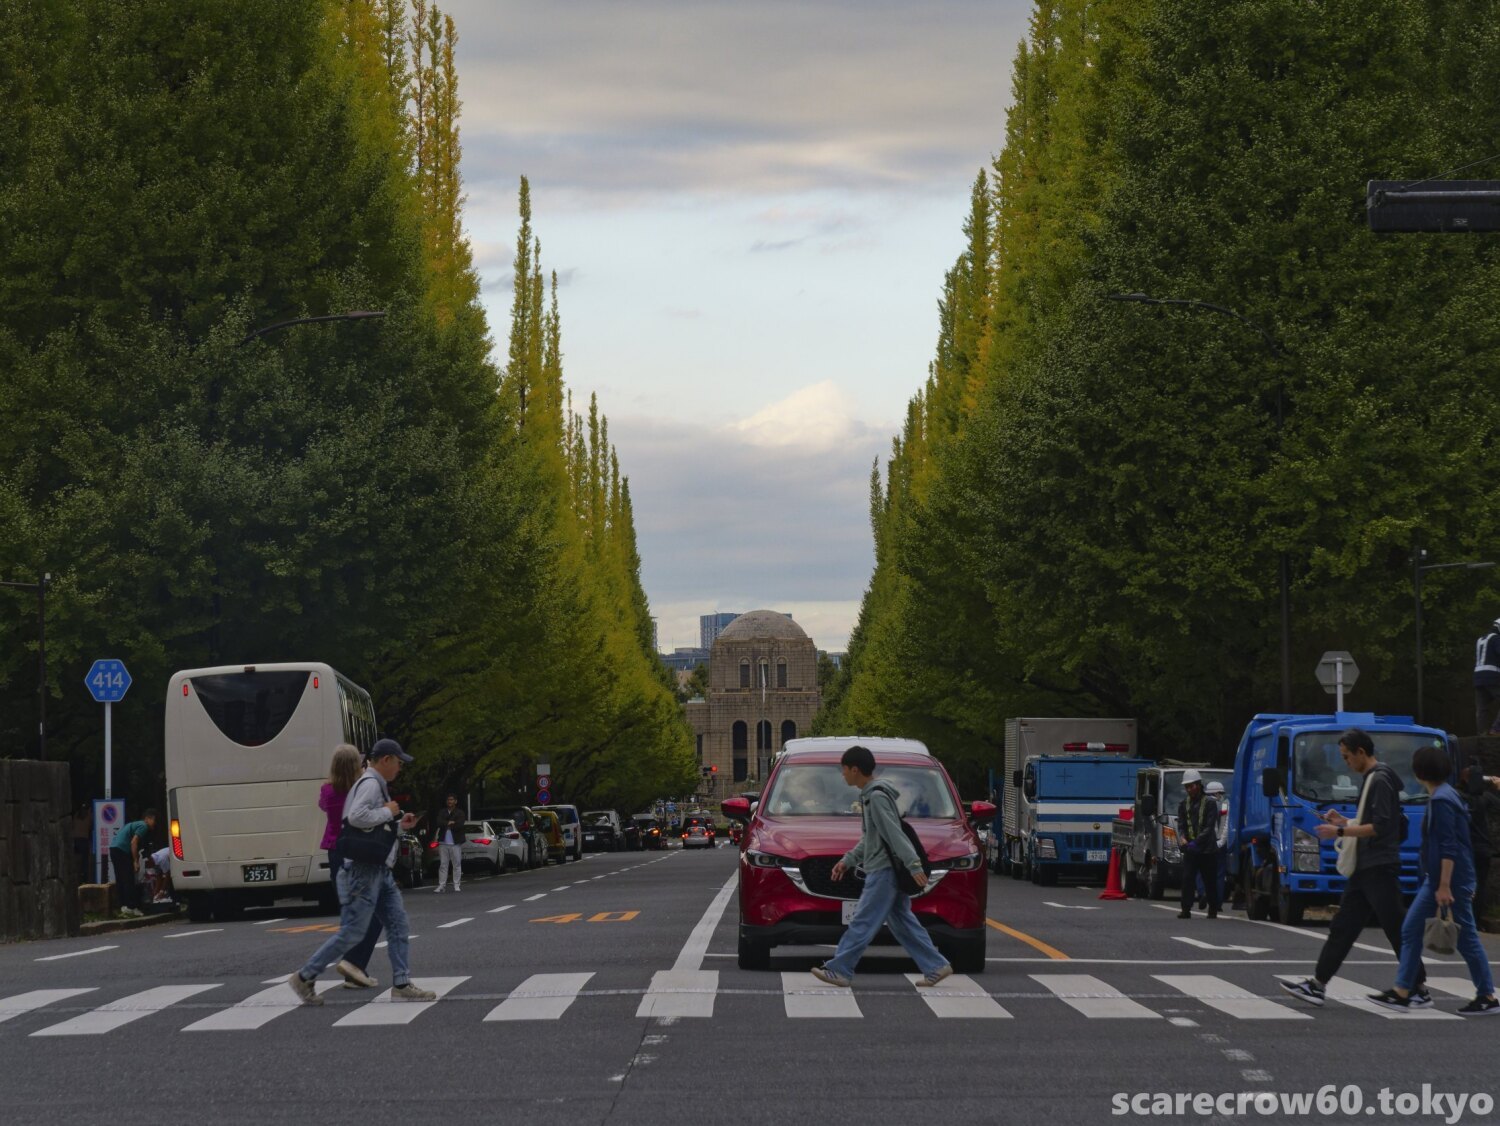
Let’s calm our minds by looking at the photo I took before class started today: the ginkgo trees lining in front of LUMIX BASE TOKYO.
The ginkgo leaves still have a long way to go before they turn color. My journey along the narrow paths of photos and movies also seems to have a long way to go.