After several years of twists and turns since my last article, I finally welcomed the smc FA31mm F1.8 limited, a legendary lens.
It is the smc version, not the latest HD version which is said to have improved backlight resistance. Since I will be using the lens with an APSC instead of a full-size camera, I decided not to rely on the small hood that comes with the lens, but to try to extend the hood as far as possible without physically vignetting, an attempt known as “weaponization” among users of the same lens.
Although it has an exaggerated name, it is not a very bold modification (cutting, shaving, drilling holes, etc.).
The first route of weaponization, which was pioneered by our predecessors, is to stack the fitting rings inside the dedicated hood and attach a screw-on hood for medium telephoto lenses at the tip. This is the route used by most of the works that appear on the Internet when you search for “FA31mm weaponization”. The idea is that by using a hood with a female screw at the end, it is convenient to attach a filter or a lens cap that can be set into the lens.
However, in my view, there is a drawback to this route 1.
(1) Hassendo, the seller of the joint ring and hood that dominated the “weaponized world” has already closed its store. Then we ca hardly get similar products available in 58mm diameter male-male and female-female joint rings that can earn just the right ring height.
(2)This style of lens would require a screw-in medium-telephoto hood to be attached to the end of the lens, which would greatly diminish the appeal of this compact and lightweight lens.
The latecomer to the market is Weaponization Route 2. They added a barnacle-shaped hood to the inside of the dedicated hood. Specifically, a successful example was reported in which a 58mm to 52mm step-down ring was attached, and a Koshina Foktrender LH-40N (dome shaped hood) was attached.
LH-40N

This way, the retrofitted hood fits inside the original hood, so it is not too big, and the factory cap can be used without modification.
However, Route 2 also has a point that is difficult to support unanimously.
(1) The LH-40N hood has already been discontinued and is difficult to obtain.
(2) The original cap is easy to drop and I would like to put it away without using it if possible (poor).
(3) It would be difficult to do filter work
Therefore, I decided to go Route 3, using the knowledge of the “weaponized world” (lol) that has been further researched and developed since then.
Starting from the lens side
1) Protective filter 58mm
2) Step down ring 58mm -> 46mm
3) Step-up ring 46mm → 58mm
4)Fitting ring 58mm male – female
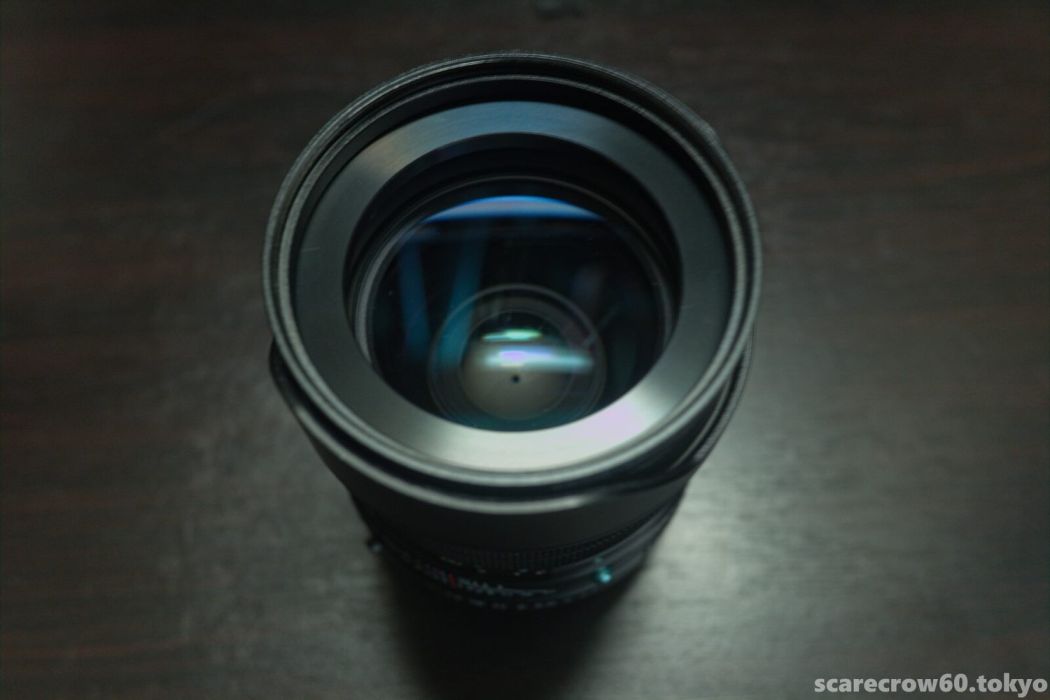
The idea is to create the same light shielding effect as a doom type hood by overlapping the two rings (2) and (3) in a pseudo manner. The actual product looks like this.
When viewed from in front of the lens
From the side
Instead of a cover-type cap that could easily be dropped, a genuine PENTAX plastic cap O-LC58 can be attached.
While 1), 2), and 3) above are enough to complete the pseudo-doom part, the reason for adding 4) beyond them is to extend the retrofitted hood to a point beyond the tip of the original hood, as you can see in the photo, to make it easier to place it face down when changing lenses. It would also slightly increase the light shielding effect.
Since 1) is thicker than 4) in the tool at hand, I have chosen this order in the hope that it will enhance the effect of the doom hood as much as possible, but it may be more beneficial to reverse the order of 1) and 4) without being particular about it, such as making it easier to wipe when it gets dirty. We will consider this later.
According to other people’s research reports, there is no vignetting even if the diameter is stepped down even smaller than 46mm, but 46mm is the limit for domestic brand MARUMI rings, and I am fine with this.
Thinking about it, I have used the FA43mm with the doom hood for the DA40mm, and also used the Substituting a coupling ring for the DA20-40mm’s unwieldy stock hood, I have learned a lot from the ingenuity of PENTAX users. I have also enjoyed learning from various information sources and being exposed to the energy of my fellow PENTAX users in this weaponization project.
And here is the important part. What kind of photos will I take with this weapon? I will do my best.